The real decision: set up now, not at landing
At 6:42 p.m., right after the Narita arrivals doors, I stalled beside a vending machine with a half-working airport Wi‑Fi signal and 3% battery. The line for the SIM counter looked like it belonged to a different flight, and I could already feel the clock: train choices, Suica setup, hotel check-in. In that moment, “I’ll deal with data when I land” stopped being a plan and became a gamble.
The real decision isn’t which Japan eSIM is cheapest; it’s whether you do the fiddly parts while you still have calm internet, charger access, and time to undo mistakes. For a 9-day solo trip, the trade-off is simple: a slightly more expensive plan that installs cleanly at home often beats saving a few dollars and spending your first hour in Japan troubleshooting. This matters most if you care about keeping WhatsApp/iMessage tied to your primary number—because the easiest way to break that comfort is panicking and toggling the wrong “default line” while jet-lagged.
Before you even compare plans, treat this like a preflight check: confirm your phone supports eSIM and dual SIM behavior (one physical SIM + one eSIM, or two eSIMs), decide whether you need data-only or a local number, and choose when it activates (install now, activate on arrival). Label the eSIM “Japan Data,” set your primary SIM as the default for voice/SMS, and set the eSIM as default for cellular data—then leave data roaming off for your primary line. If that feels overly cautious, it’s because arrival-day friction is real, and this is one place where being boring pays off.
Confirm your phone works with eSIM
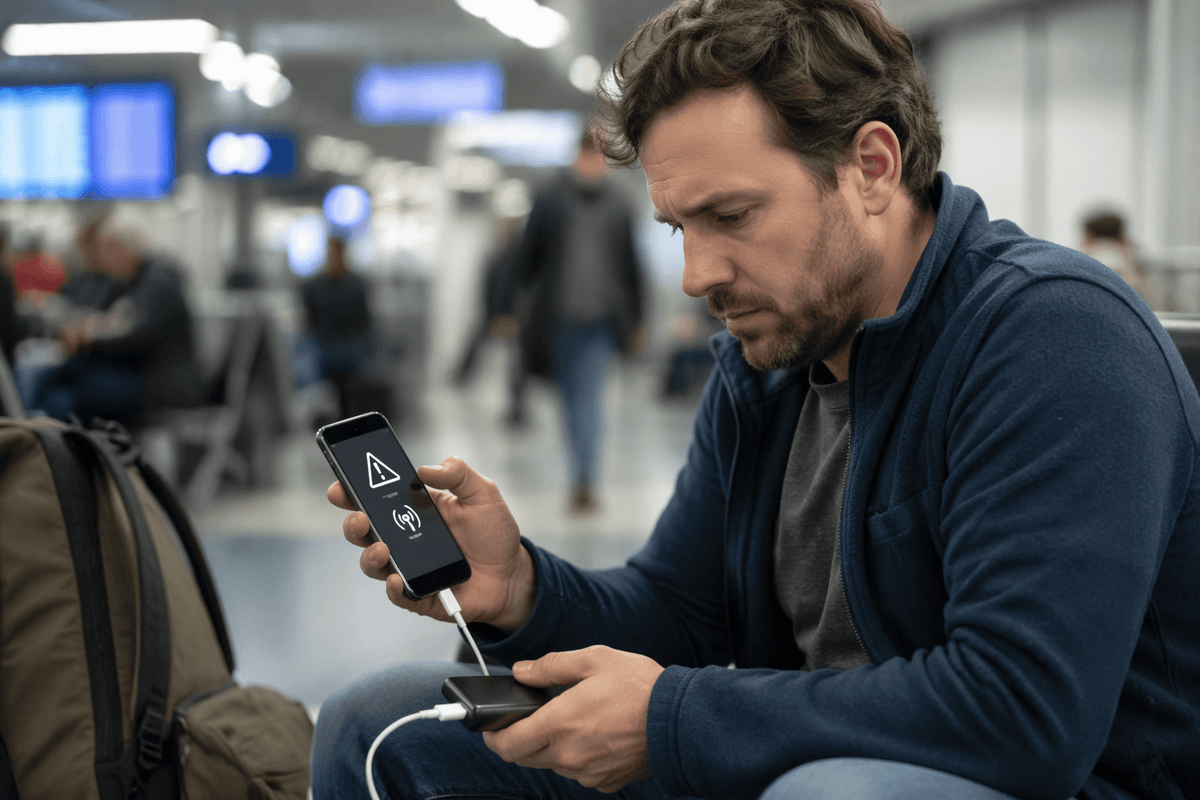
Two nights before my flight, I was in Settings with my suitcase half-zipped, staring at a menu that didn’t match the screenshots I’d saved. The “Add eSIM” option wasn’t where the blog said it would be, and my phone showed only one lonely SIM slot. That’s the moment to pause—because finding out you’re not compatible at home is annoying; finding out at Narita is expensive.
Start with the boring gatekeepers: your phone model must support eSIM, and it must be unlocked. An eSIM-capable iPhone/Pixel can still fail the trip if it’s carrier-locked, which looks fine on Wi‑Fi but refuses to activate a foreign plan. Then confirm your dual-SIM behavior: can you run your primary physical SIM (or primary eSIM) for voice/SMS while a Japan eSIM handles data? Some phones allow dual standby but not dual active, meaning calls can interrupt data—fine for maps, less fine for ride-hail at a busy station.
For keeping WhatsApp/iMessage stable, the safest setup is: primary line stays default for voice/SMS, Japan eSIM becomes default for cellular data, and your primary line’s data roaming stays off. If you don’t see “Add eSIM,” “IMEI (eSIM),” or “SIM manager,” don’t force it—buying a plan first is the wrong order. Ten minutes now beats an hour later with jet lag and a dying battery.
Pick the right plan for your trip
At 11:18 p.m., I had three tabs open—one plan said “10GB,” another said “unlimited,” and the fine print quietly mentioned “512kbps after daily cap.” I hovered over “Buy” anyway, because the prices were close enough to feel interchangeable. They aren’t, and Japan is where the small clauses show up the moment you’re trying to load a platform map underground.
For a 9-day trip, start by deciding what “working data” means for you: if you’ll mostly do maps, messaging, and the occasional booking, 5–10GB for the whole trip is usually a calm middle ground; “unlimited” is often a trade-off where you pay more to avoid math but accept throttling rules. Check four plan details before price: (1) network/coverage partner in Japan (good coverage matters more than saving $4), (2) whether hotspot/tethering is allowed (some cheap plans block it), (3) how the validity window counts (7×24 hours vs calendar days), and (4) whether activation starts at purchase, at install, or only when it connects in Japan.
If keeping WhatsApp/iMessage tied to your primary number is the priority, data-only eSIMs work well because you’re not replacing your main line—you’re just giving it a better internet pipe. A data-only eSIM won’t give you a Japanese number, so plan on WhatsApp/FaceTime/LINE for most communication. When two plans feel similar, pick the one with clearer activation timing and a straightforward top-up option; that’s what saves you on day 6 when you stop “conserving data” and start actually traveling.
Buy and install the eSIM safely
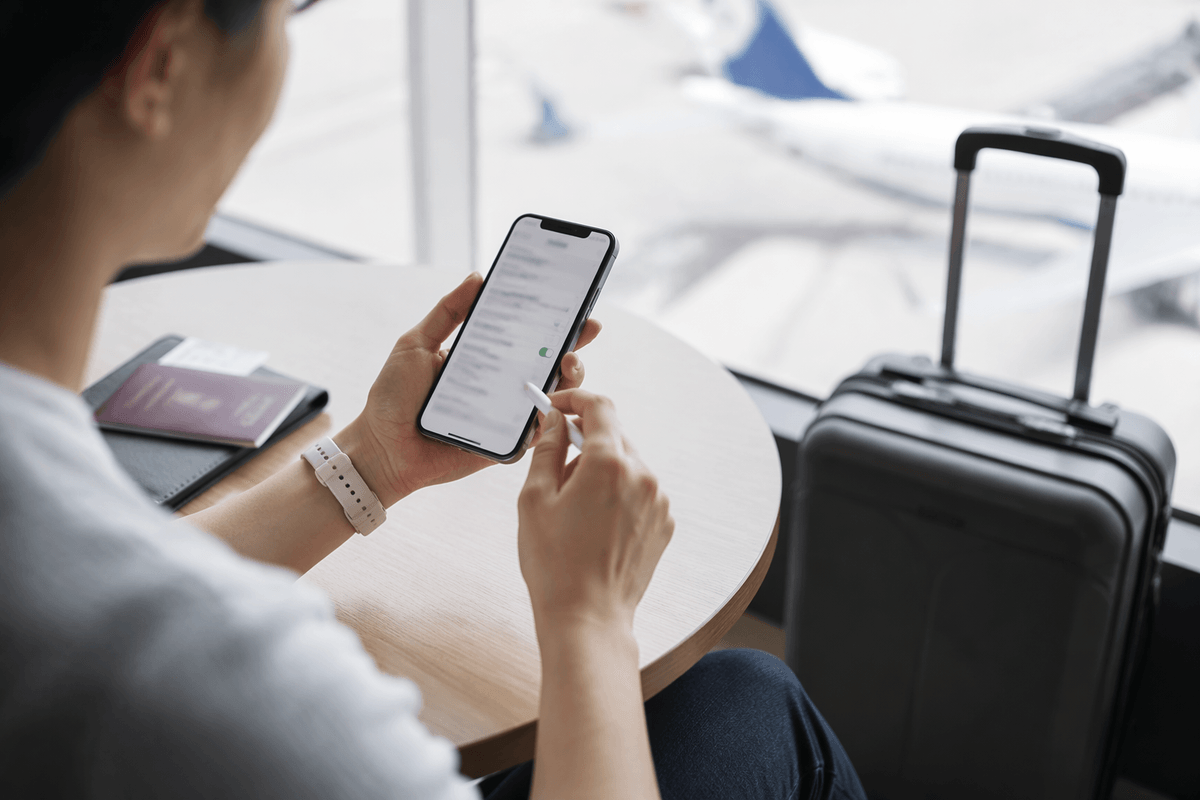
In the purchase checkout, I hesitated with my thumb over “Pay,” because the confirmation page warned the QR code would be shown only once. My laptop was on hotel Wi‑Fi, my phone was on a flaky café network, and I could already imagine losing the email in a spam folder at 1 a.m. That’s not paranoia; it’s the exact kind of small friction that turns into arrival-day downtime.
Buy the eSIM from a source that gives you a clean paper trail: a receipt, an order number, and either a QR code plus manual activation details (SM-DP+ address/activation code) or an official app install flow. The “cheapest” sellers often make support harder and the instructions thinner—fine if you love troubleshooting, rough if you just want Google Maps and iMessage to work. Pay with a method that lets you dispute charges, and avoid clicking QR links from random DMs; it’s boring, but it’s how you don’t accidentally install a profile you don’t understand.
When you install, do it on stable Wi‑Fi and keep your primary line untouched: don’t delete your main SIM, don’t change your Apple ID/Google account settings, and don’t “convert” anything unless the instructions explicitly match your phone. I label the new line immediately (“Japan Data”), then take screenshots of the eSIM details page—because if the profile fails, you’ll want the identifiers before you’re tired and offline. If you’re anxious about early activation, install now but leave the eSIM line off until you land; it’s slightly less convenient, but it protects the plan’s validity window.
Set it up and test at home
At 12:07 a.m. the night before my flight, I did the thing I always swear I won’t: I installed the eSIM, saw “No Service,” and froze with my boarding pass email still open on my laptop. The temptation is to keep tapping random toggles until something lights up. That’s how people accidentally flip their primary line to “Cellular Data” and discover a surprise roaming charge later.
The home setup that behaves best under jet lag is a little boring. Rename the new line immediately (“Japan Data”), then set your primary line as the default for voice/SMS and contacts. Set “Japan Data” as your cellular data line, and turn off data roaming on your primary line; the trade-off is you’re choosing safety over convenience if you ever need a quick fallback connection. On iPhone, I also disable “Allow Cellular Data Switching” so the phone won’t quietly jump back to your primary line when the eSIM is off. On Android, look for SIM Manager defaults and make the same choice.
Testing at home is about behavior, not signal bars. With Wi‑Fi off, turn the eSIM line on for 30 seconds (if your plan allows early activation) and confirm your phone still shows your main number for iMessage/FaceTime and WhatsApp keeps the same account. Then turn the eSIM line back off and do a “panic drill”: toggle airplane mode, restart once, and make sure your defaults didn’t drift. If your eSIM requires data roaming to work (common), note it in a screenshot so you’re not guessing in Narita.
My preflight eSIM checklist to avoid surprises
At 5:55 a.m., coffee in one hand, I did the last stupid test: Wi‑Fi off, airplane mode on, then back. The goal wasn’t to “get bars” (you probably won’t, at home), it was to make sure my phone wouldn’t silently fall back to my primary line the second I got tired and tapped the wrong thing. That small rehearsal took two minutes and saved me from gambling on airport Wi‑Fi later.
My preflight checklist is short enough to do while your suitcase is open: confirm the phone is unlocked and you can see an eSIM option; screenshot the QR/manual details somewhere you can reach offline; rename the eSIM “Japan Data”; set primary line as default for voice/SMS; set “Japan Data” as cellular data; turn off data roaming on the primary line; and make sure the phone won’t auto-switch data back (disable iPhone “Allow Cellular Data Switching,” or set Android SIM defaults explicitly). You’re choosing stability over clever “automatic” behavior—better for solo travel, worse if you like the phone improvising.
Then I do one friction test: with Wi‑Fi still off, open Maps and a messaging app and confirm they behave the way you expect (even if they can’t load). If your eSIM needs data roaming enabled to work in Japan, write that down now, because jet lag blurs menus. If anything feels unclear, that’s your cue to pay for the plan with clearer activation timing—not the cheapest one.
![6 Best Money Market Funds [Protect Your Savings in 2026]](static/image/2026/07/14/fc8225e7-a6f6-459f-8150-f54bd9c52f6f.png)